
Imagine face glitter, brushes, sequins, and adhesives all stored in a backpack. A setup that takes more than 20 minutes to complete. And in addition to that, the table is too small to fit all of your supplies. That’s a struggle that many glitter artists encounter when setting up a glitter bar.
We get it. The problem is unorganized supplies and not enough space. This issue can be frustrating, time-consuming, and a lot of work to set up and tear down. We have three tips to help organize your glitter bar in your Craft-n-Go Mini or Craft-n-Go Standard Case!
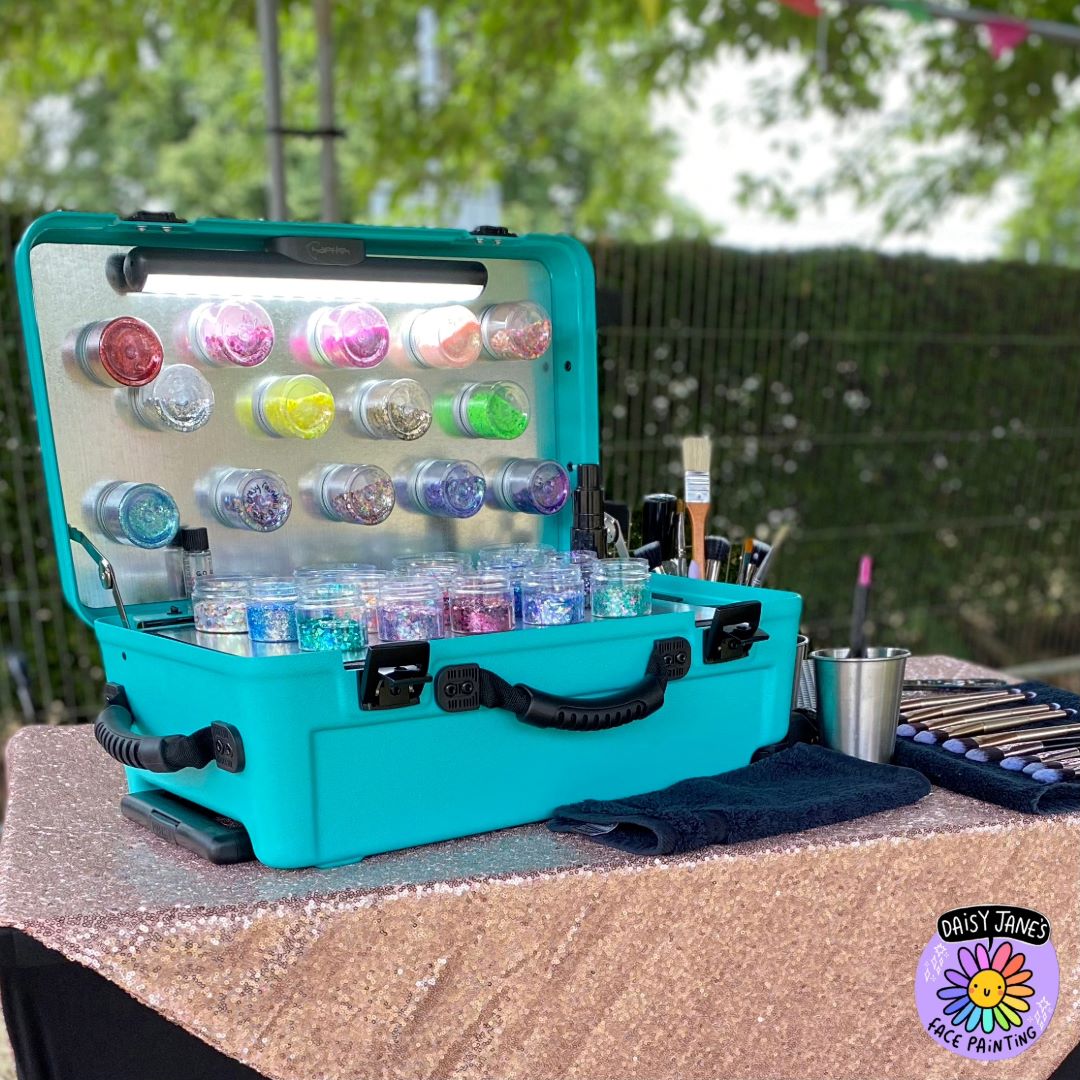
Craft-n-Go Mini Case - Photo Credit: Daisy Jane's Face Painting
1. Know what you have!
Before you can organize, you need to evaluate your inventory. Take out all of your glitter bar essentials and review it. Yes... That means everything!
Next, decide what to keep, ditch, or replace. Chances are you might have a few items that no longer serve a purpose, or you may discover some items that need replacing. Now is the time to dispose of or donate broken, unusable, or irrelevant items that take up space in your setup.
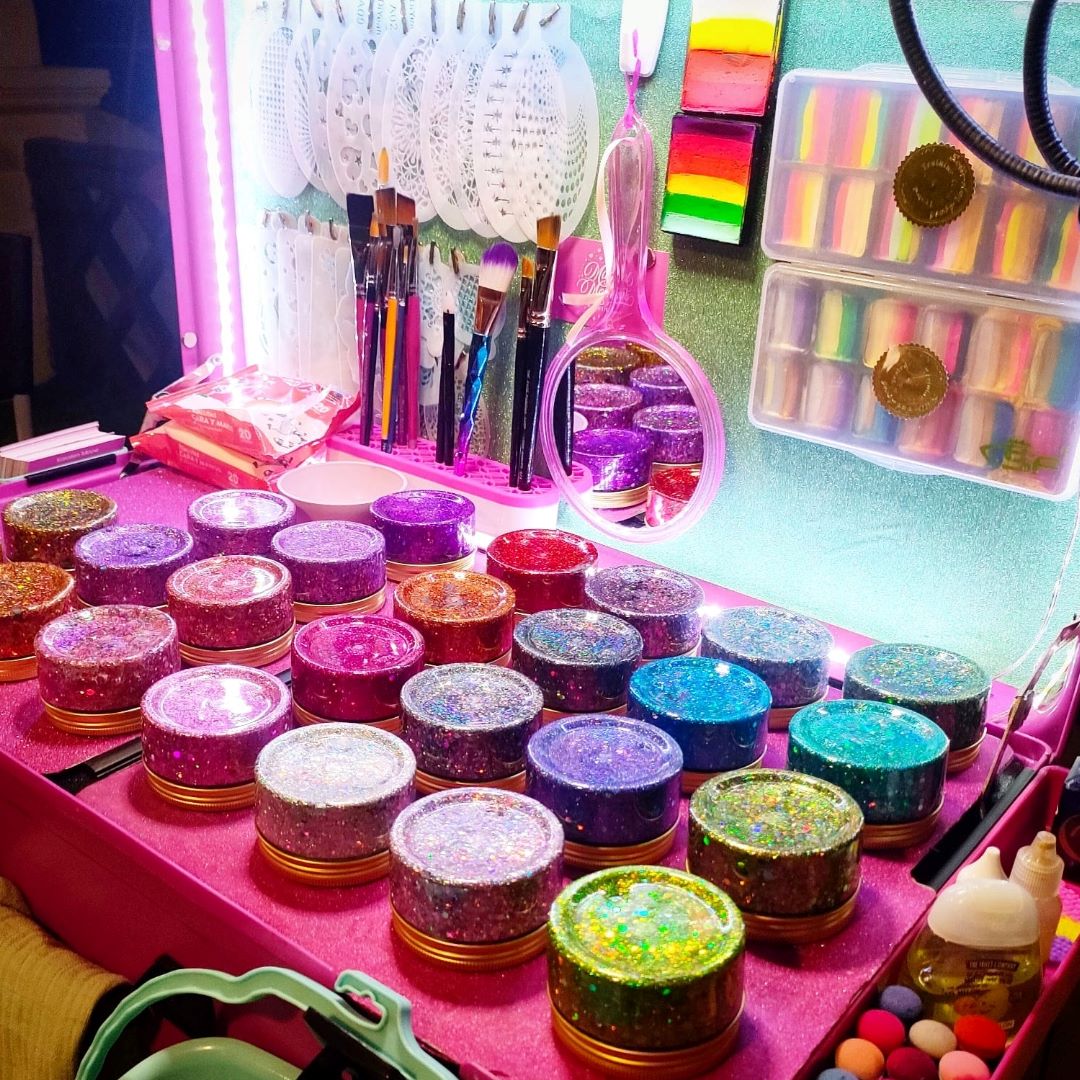
Craft-n-Go Standard Case
Doing this is a great way to evaluate and see what supplies could help improve your Craft-n-Go setup. Perhaps you've wanted to upgrade your supplies, like investing in a larger mirror for your clients or adding more sequins to your designs. Now, you know exactly where the gaps are and have room for it.
2. Put items together that go together!
Once you set out all your supplies, it's time to start sorting. Put similar items together: Glitter by glitter, brushes by brushes; you get the idea. When you do this, you can see what items you have, how you need to organize, and where you want to store things. The fun part is deciding what to put everything in and how to store it.
3. Invest in efficient storage solutions.
Magnets:
Magnets can be applied to just about any item in your case, making them a versatile tool. When you want to add new supplies or remove old containers, having the option to move things around can be especially helpful.
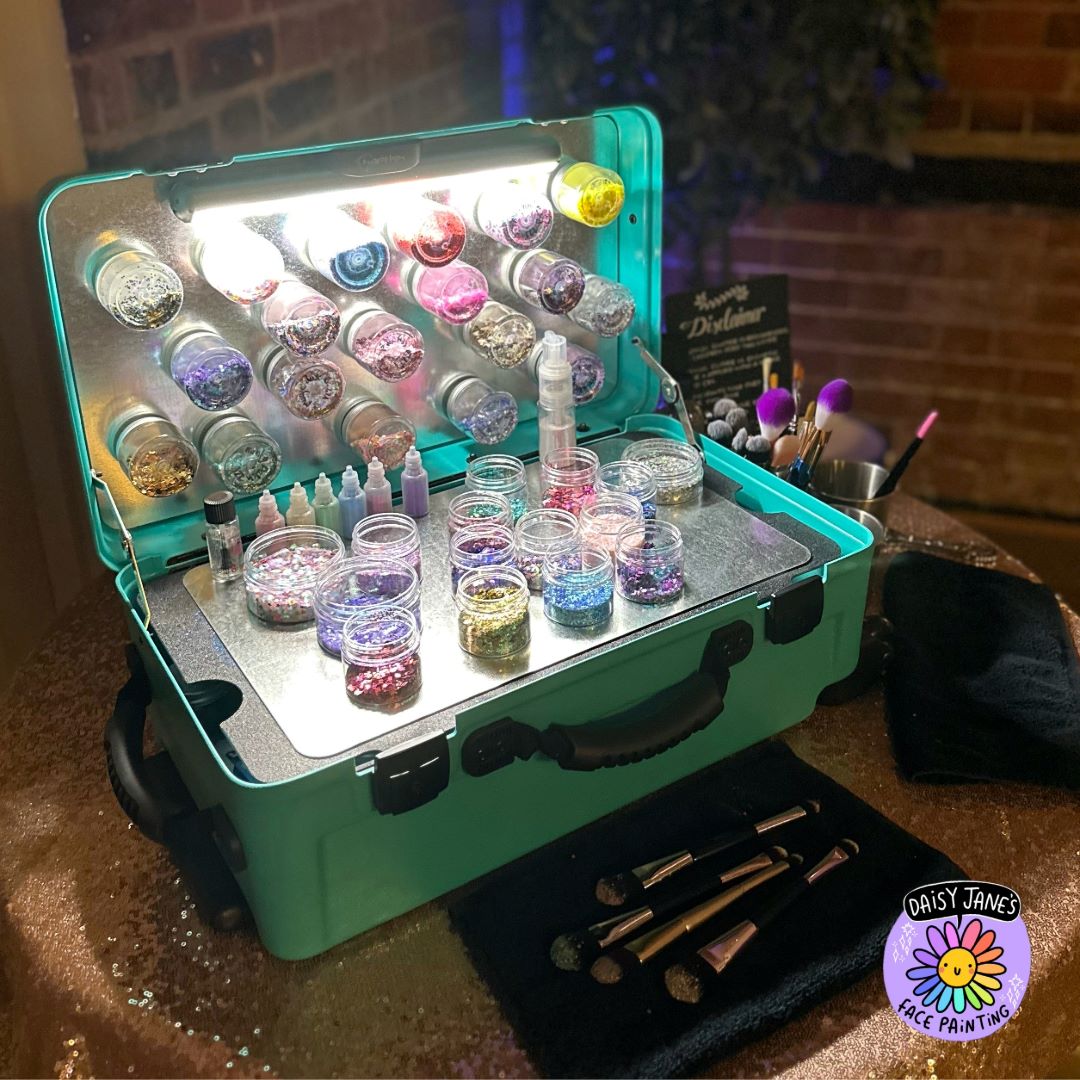
Craft-n-Go Mini Case - Photo Credit: Daisy Jane's Face Painting
A great feature of the Craft-n-Go Mini is the amount of magnetic surface it has. The work surface on the bottom is removable and made of metal, while the upper lid is also metal. The amount of metal surface provides space to store and organize your glitter bar supplies.
Crafty Storage Jars:
These are handy for creamy glitter, jewels, gems, and sequins. The jars are clear, so you can easily see inside. The Crafty Storage Jars are great for combining jewels and gems to make your unique blend. Please note, that these jars are not recommended for fine glitter.
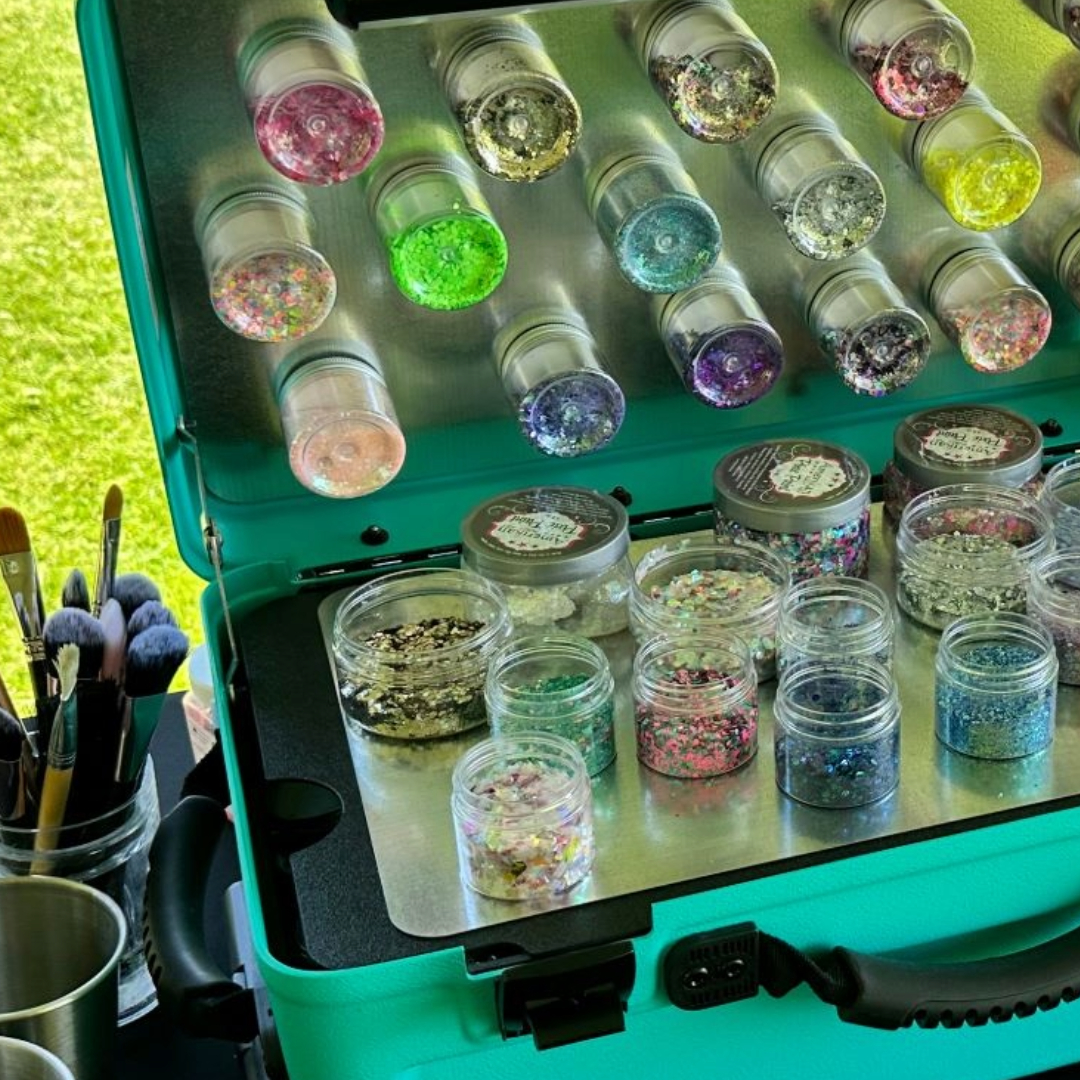
Craft-n-Go Mini Case
Brush Holders:
Having to dig around for tools and brushes at the bottom of your case is the last thing you want to be doing at an event. Loose tools can also create clutter and waste valuable space.

Craft-n-Go has two different brush holders that are compatible with the Mini and Standard cases. The Brush & Tool Tray has a silicone insert, and the Brush Bin has a foam insert. Decide what setup works best for the supplies you have.
Pouches:
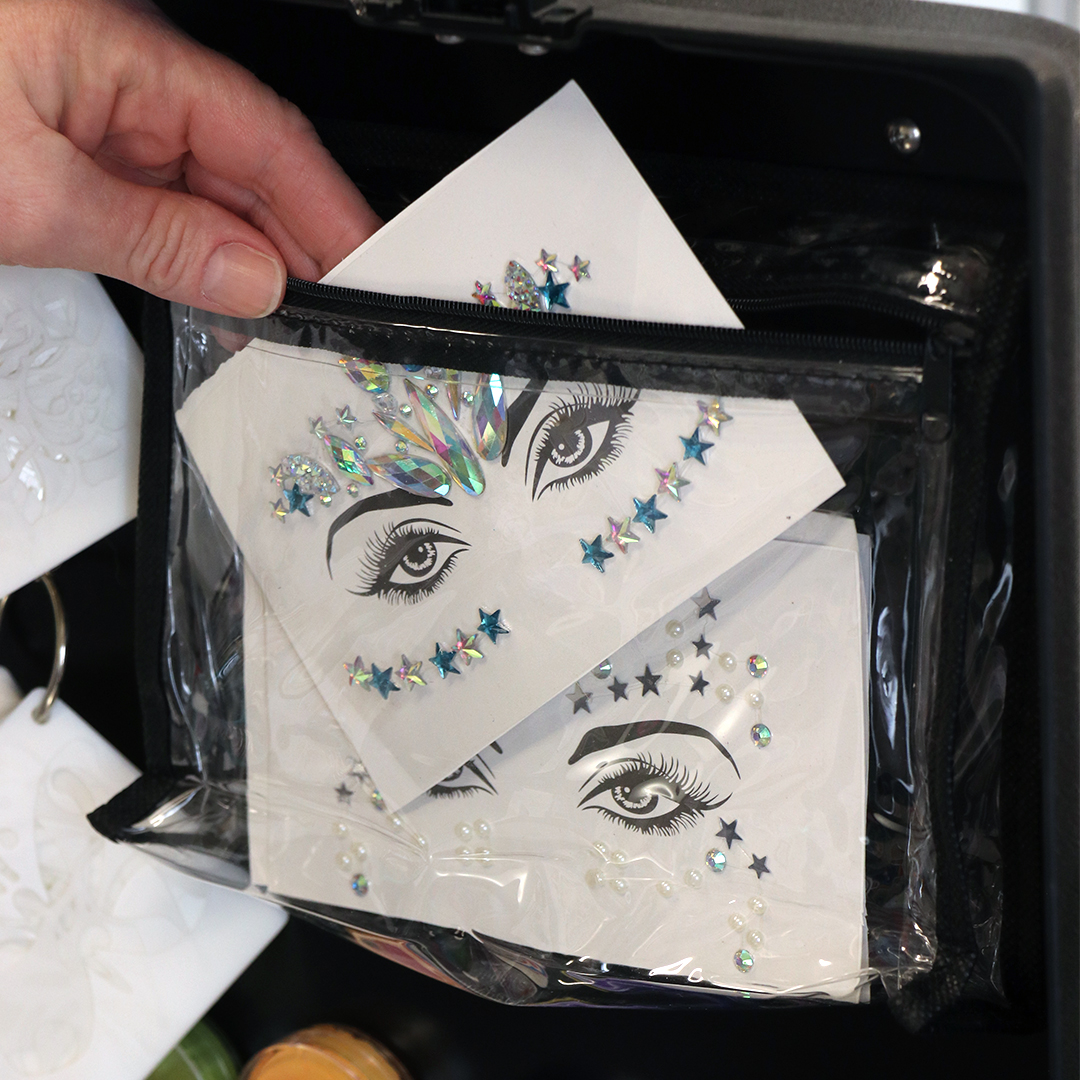
Last but certainly not least, pouches. This is a storage solution for small accessories, like jewels and gems. Clear pouches make it easy to see inside and zip shut, keeping your contents secure. You can even attach magnets to stick the pouches on your case.
Bonus Tip:
Rearrange, rearrange, rearrange! Try out your new and organized setup and see what worked. If a few things didn't work as well as you had hoped, rearrange your supplies and try something new.
Everyone has a different way of working out of their kit. Keep trying new arrangements until you find the setup you love.


